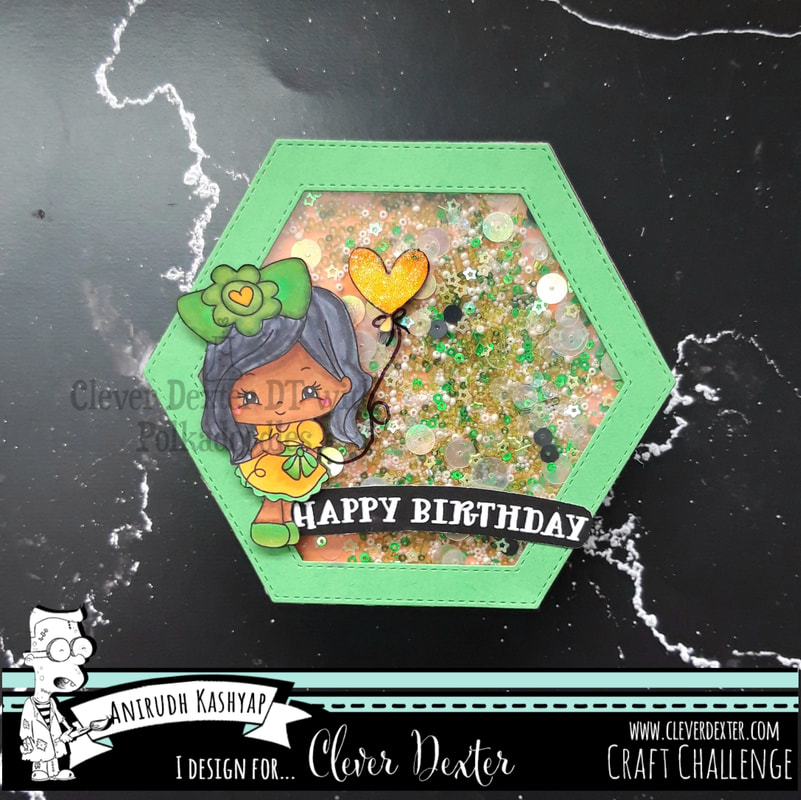
 Hello, crafty friends! Hope y'all doing good. Today I'm super happy to share a project with you guys for Clever Dexter Challenge#21 - Glitter and Sparkle! Our sponsor for this month's challenge is Polkadoodles and I used her Sweet Heart Balloon Digi stamp, she's so damn cute... Let me show you how I made this fun shaker card! 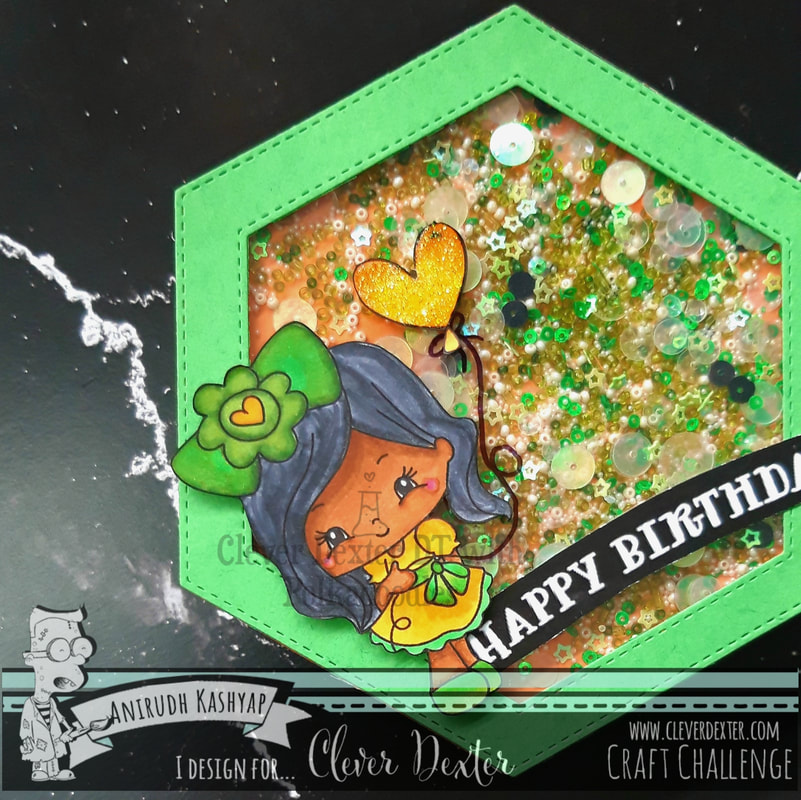 First of all, I Copic colored the girl image and then fussy cut it out. The string was hard to cut so I just cut the balloon apart (and later drew the string with a black fine-point marker!) Then I used Crystal Stickles to accentuate the balloon. For the card base, I simply folded an orange cardstock in half and then used the DCAM Double-stitched hexagon die and placed it so that one edge is not cut. I also cut an acetate off the same die and then used a smaller die to create a border. Using narrow foam tape, I created a well and added sequins, beads, and prills, and then covered it. Lastly, I put the girl on top of the acetate, added the sentiment and my shaker card is done... 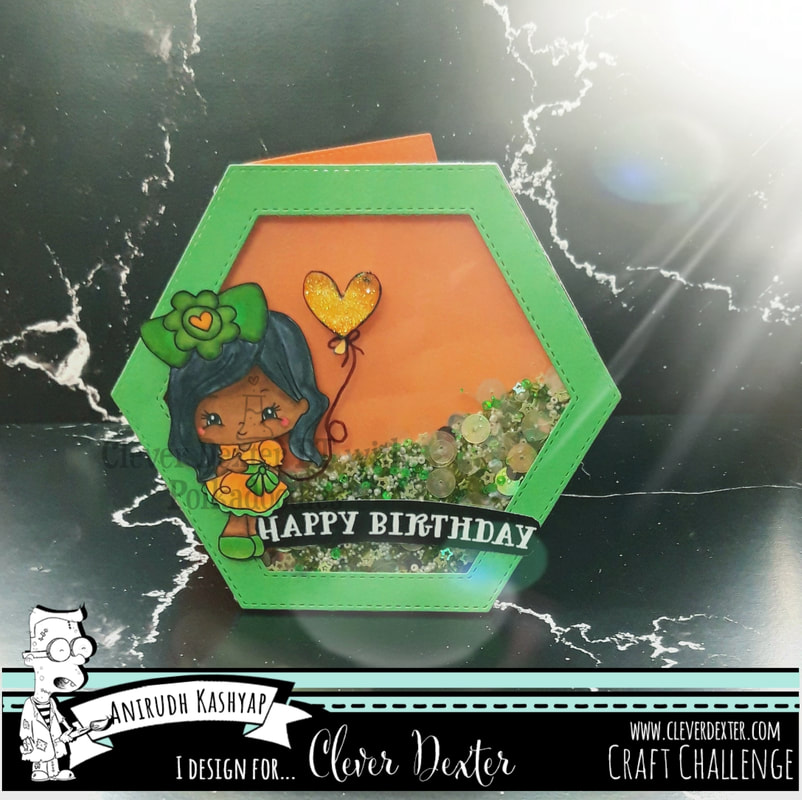 I hope you will join this Clever Dexter Challenge!
Spread kindness, spark your creativity and grab a couple of Polkadoodles's Digis (though not required to win), and make something awesome today! Thank you so much for stopping by, Keep crafting...
2 Comments
Heya! I was travelling through my local shopping street and I got a notification on my phone about the new INSPIRATION STATION Challenge theme and this struck me to use a stamp set I had never used before! Look what awesomeness can be created when you're inspired... 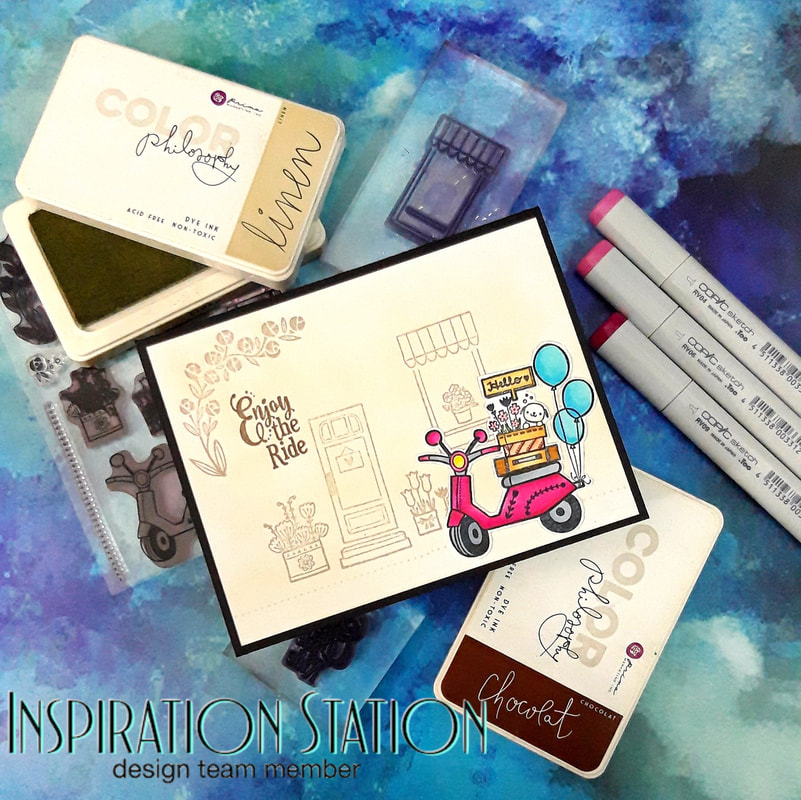 Let me tell you about the making process, Starting with a white card front, I used a light tea ink to ink blend the entire panel and then used the same ink to stamp a complete scene using the stamp set. Then I used a darker shade to stamp the sentiment. 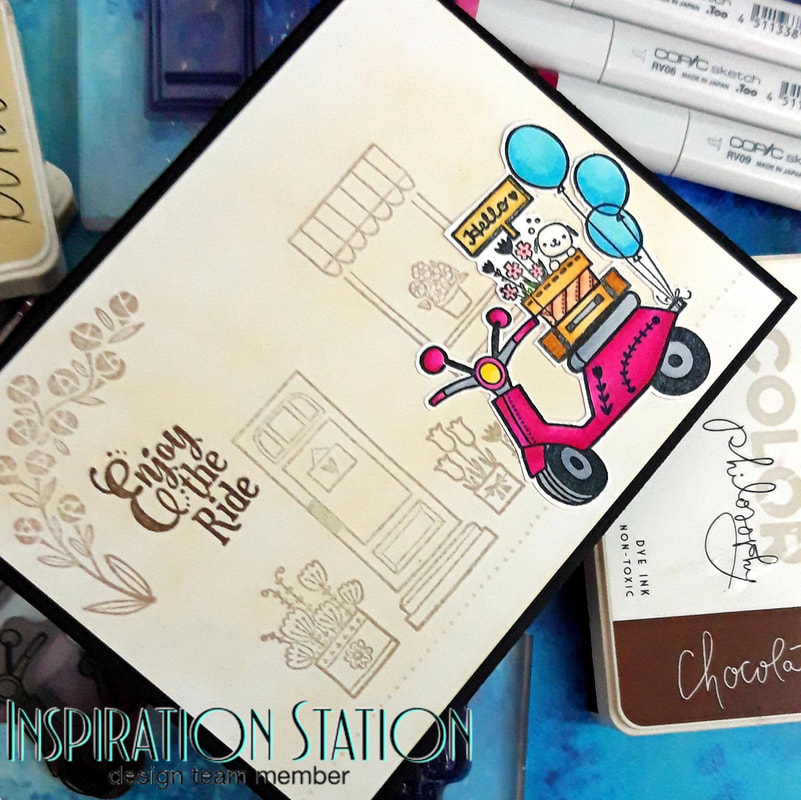 Now, the spotlight, for which I used the scooty, with travel bags, boxes and a cute little puppy! I stamped these over a white cardstock scrap paper, colored them with copics and then fussy cut that out. Using thin foam tape, attach this over the panel and finished the card. Very effective, right? 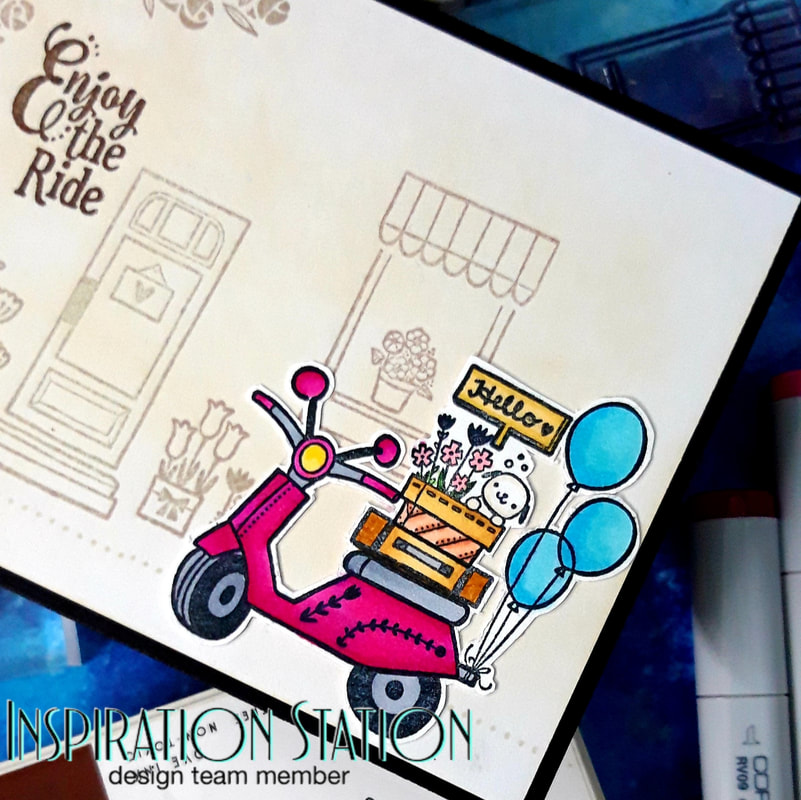 I hope this simple project inspires you to create cute cards. Also, don't forget to participate in this challenge. Do share your creations and comment down below and I'll catch you soon again... Keep crafting! The products used are:-
1. PINKFRESH STUDIOS SCOOTIN' BY STAMP SET 2. PRIMA COLOR PHILOSOPHY LINEN DYE INK PAD 4. PRIMA COLOR PHILOSOPHY CHOCOLAT DYE INK PAD 5. COPIC SKETCH MARKERS 6. MARTHA STEWART SPRING LOADED SCISSORS 7. TUBBY CRAFT ACRYLIC BLOCK RECTANGULAR 1X4 8. TOMBOW MONO LIQUID ADHESIVE 9. SCOTCH DOUBLE SIDED ADHESIVE FOAM TAPE 1/2" 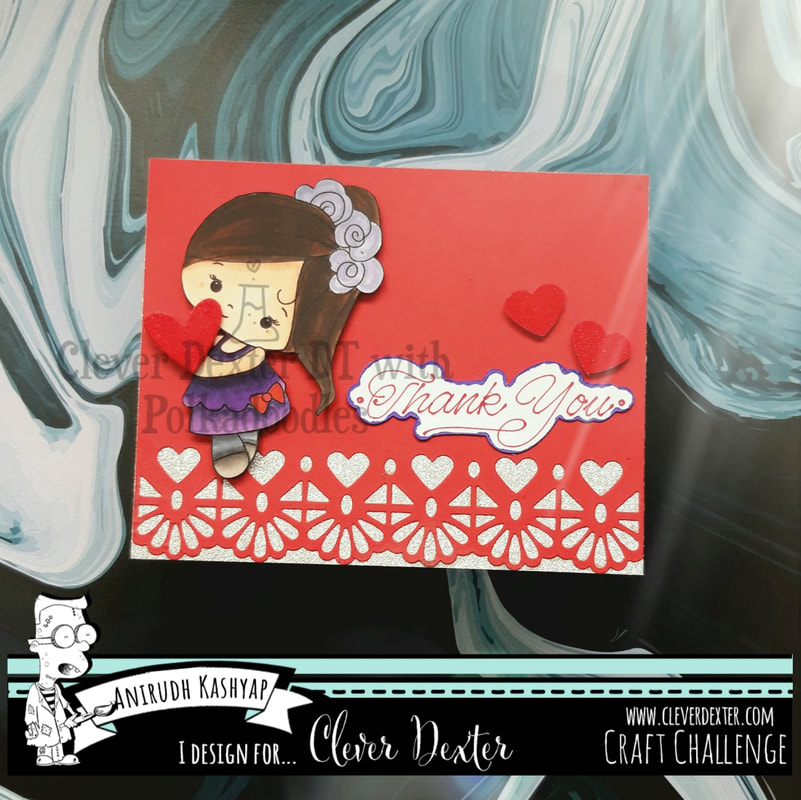 Hello my crafty folks! Clever Dexter Challenge #21 is on and this time its all glittery and sparly... So I made this shiny piece of art for you all! Le'me show you how I put this card together. 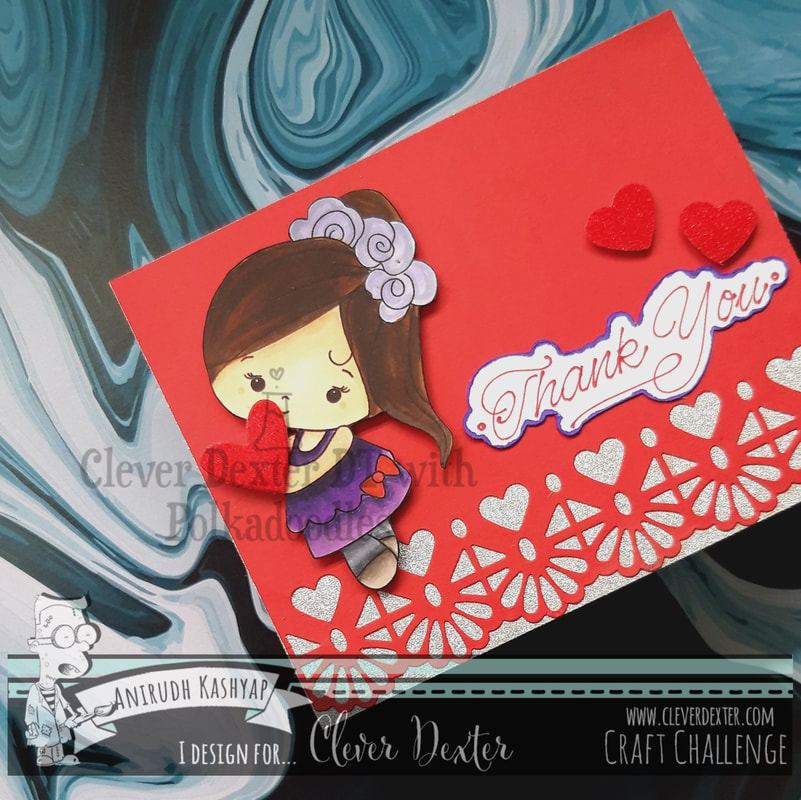 Polkadoodles is the sponsor for this month's challenge and I've used Honeypie Digi stamp. I Copic colored the image and then fussy cut it out. For the card panel, I used a red cardstock and used JAGS edge punch to accent it, then I trimmed it to 5 1/2 x 4 1/4 and then adhered to a silver glitter card base. This gives a beautiful look . Now, I simply used a Thank you sentiment from an old ephemera pack and also added a few red glitter paper die-cut hearts here and there and my card was complete! Look at the cute girl; 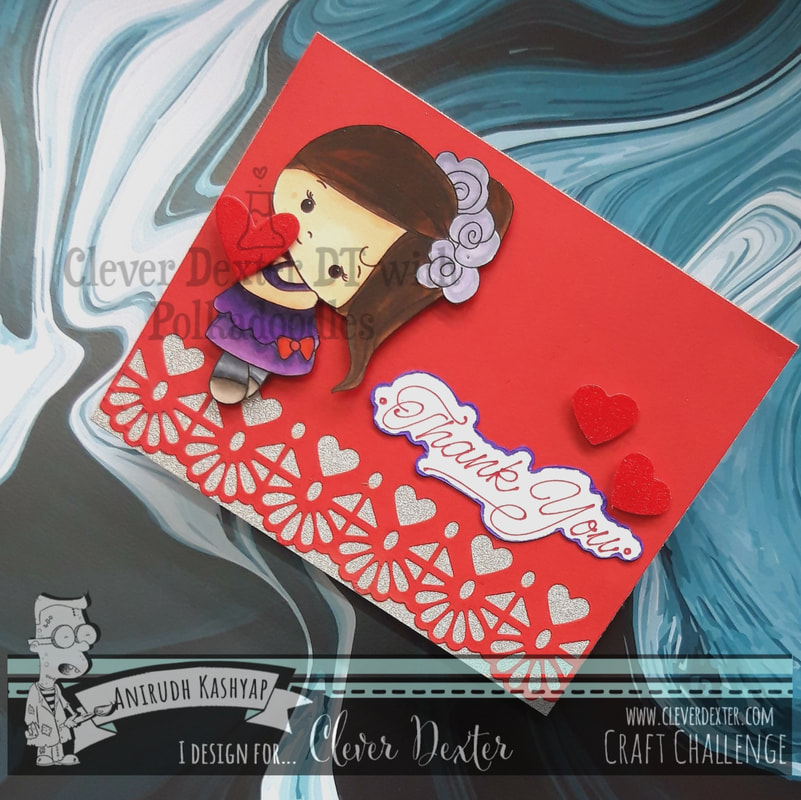 I hope you liked this card...
Spread kindness, spark your creativity, participate in this challenge to win, and make something awesome today with Polkadoodles digis (though not mandatory!) Thank you so much for stopping by, Keep crafting.. "The woods are lovely, dark and deep, But I have promises to keep, And miles to go before I sleep, And miles to go before I sleep..." Hello all you solivagant souls, how're you doin" today? Today, I have an amazing project to share with you all, and all thanks to INSPIRATION STATION Challenges for their lovely themes, for I was so moved by it this time, as always! I created a window scene card for this challenge, take a look, 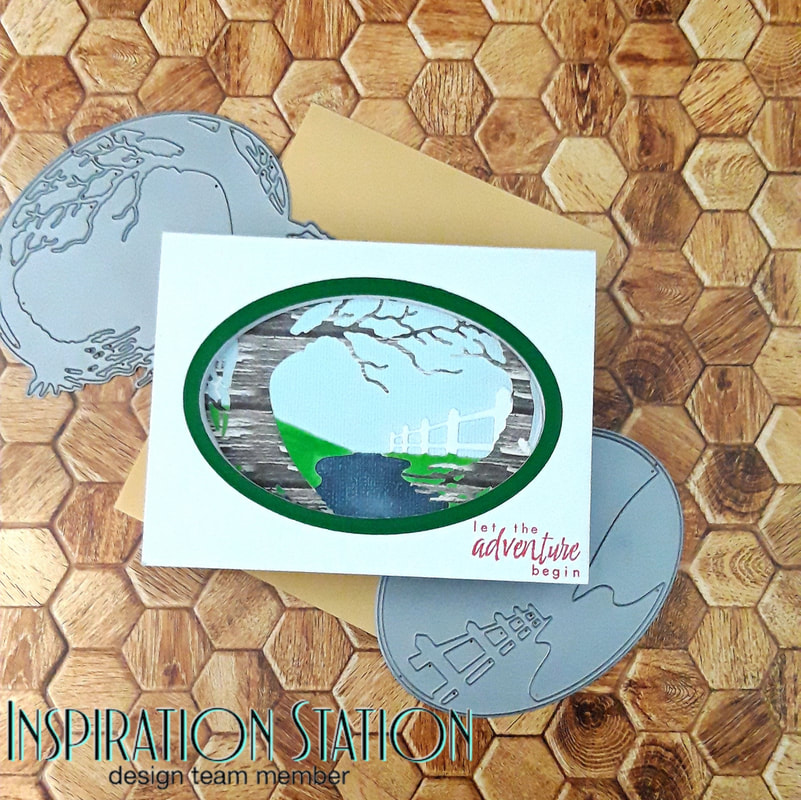 To start with, I used two amazing and coordinating dies which create a stunning scene together or by itself. I used a dark wood patterned paper for the woods dia and white cardstock for the countryside die. I layered them atop each other and then attached it to a sky blue cardstock to act as the sky. Using copics, I colored the required details and then using oval dies, cut this scene out of the blue cardstock piece. 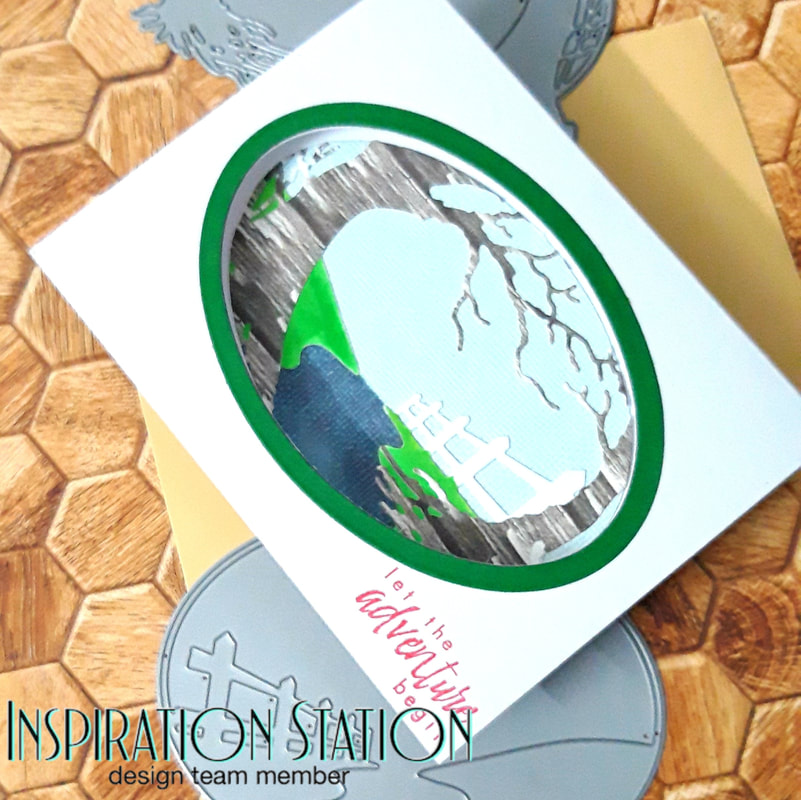 For creating the window, use the same oval die on a white A2 card base. For the frame, I simply used the same oval die and the next larger oval die, used washi tape, cut a frame out of some dark bottle green cardstock and glued it at the borders. Next, simply attach the oval scene panel through the oval window, into the card. For the sentiment, i kept it short and simple and used red ink to highlight it and your window card is done... 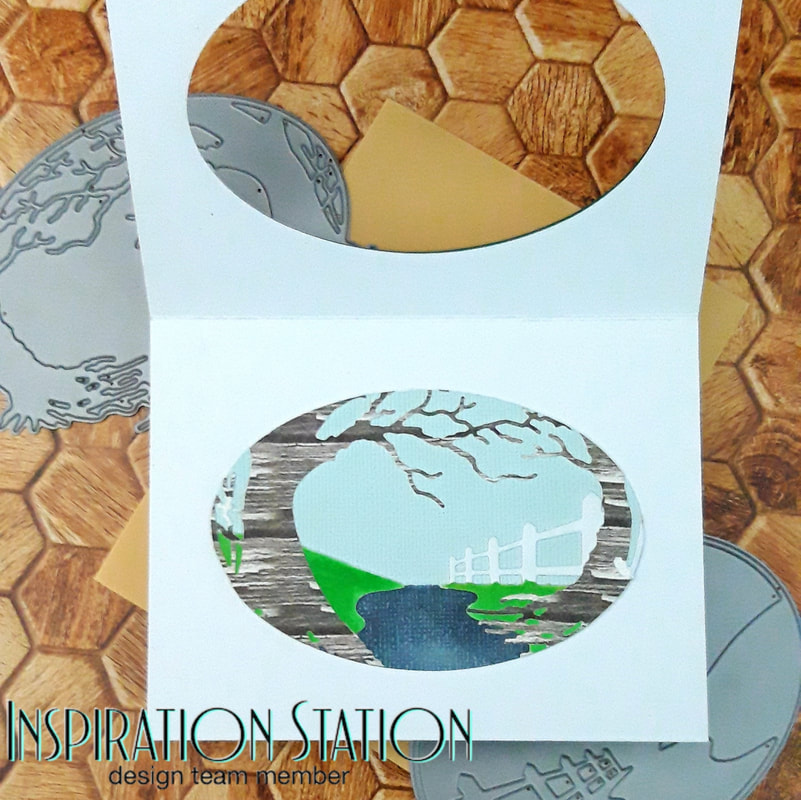 I hope this card gives you a push to create. Don't forget to participate in this challenge.... And, Keep crafting! The products used are:-
1. MEMORY BOX COUNTRY FENCE OVAL FRAME DIE 2. MEMORY BOX SLEEPY HOLLOW OVAL FRAME DIE 3. SIZZIX FRAMELITS OVAL DIES 4. COPIC SKETCH MARKERS 5. COLOR PHILOSOPHY FRUIT PUNCH DYE INK PAD |
AuthorWelcome to my blog! DESIGN TEAMS
|


 RSS Feed
